You’ve just finished assembling your custom PC—the cables are tidy, the fans are spinning, and the BIOS is set up. Now it’s time to bring your new machine to life by installing an operating system, and for most users, that means Windows.
Installing Windows after building a PC is a straightforward process, but there are some important steps to ensure a clean, functional, and secure setup. This guide walks you through everything—from preparing installation media to activating Windows and installing drivers.
What You Need Before Installation
Before you begin, make sure you have the following items ready:
1. A Bootable USB Drive (At Least 8GB)
You’ll need to create a bootable USB drive with the Windows installer. This will be your main tool for installing the OS.
2. A Valid Windows License Key
You can either purchase a license key or use a digital license tied to your Microsoft account. Windows 10 and 11 allow installation without a key, but certain features will remain locked until activation.
3. Internet Connection (Optional but Recommended)
While not essential for the initial installation, an internet connection helps speed up updates, driver downloads, and account setup.
Step 1: Download the Windows Installation Tool
Head over to Microsoft’s official website to download the Media Creation Tool:
After downloading, run the tool and select “Create installation media (USB flash drive, DVD, or ISO file) for another PC”. Choose your preferred language, edition (Home or Pro), and architecture (64-bit is standard).
Follow the prompts to create a bootable USB drive. Make sure no important files are on the USB, as it will be formatted during the process.
Step 2: Configure BIOS Boot Settings
To boot from your USB drive, you’ll need to enter the BIOS/UEFI settings on your motherboard:
- Restart your PC and press the designated BIOS key (usually DEL, F2, or ESC) during boot.
- Navigate to the Boot Menu or Boot Priority settings.
- Set the USB drive as the first boot device.
- Save changes and exit.
When the system restarts, it should boot into the Windows installation environment.
Step 3: Start the Windows Installation
Once you’ve booted from the USB:
- Select language, time, and keyboard layout, then click “Next.”
- Click “Install now.”
- If prompted, enter your Windows product key or choose “I don’t have a product key” to activate later.
- Choose your edition (Home or Pro) based on your license.
Choose Installation Type
You’ll be asked: “Which type of installation do you want?”
- Select “Custom: Install Windows only (advanced)”.
This option is for clean installations, ideal for a freshly built PC.
Step 4: Select the Drive for Installation
You’ll now see a list of storage devices and partitions:
- Select the primary SSD or HDD where you want Windows installed.
- If your drive is unallocated (brand new), select it and click Next.
- If it has existing partitions, you can delete them to create a fresh install—but be cautious: this deletes all data on that drive.
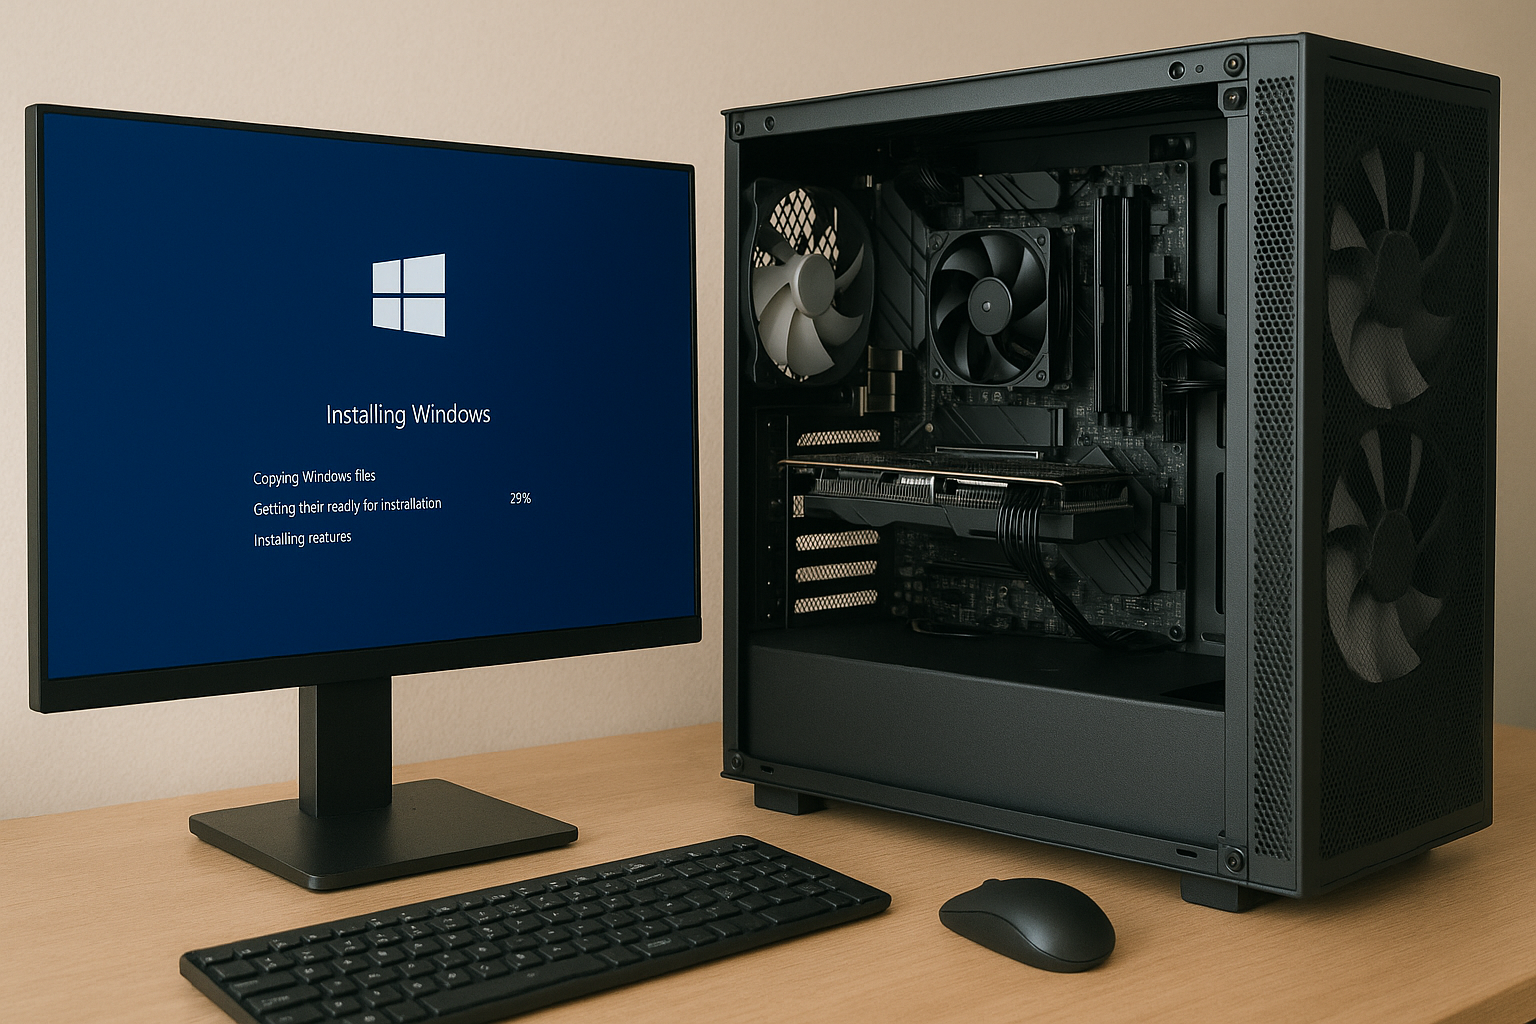
Windows will now copy files, install features, and prepare your system. This process typically takes 10–20 minutes depending on hardware speed.
Step 5: Initial Setup and Configuration
Once the installation is complete, your system will restart. You’ll now walk through Windows’ initial setup:
Choose Settings
- Region and language
- Keyboard layout
- Optional second keyboard layout
Connect to Wi-Fi (If Available)
A network connection helps with driver installation and Microsoft account setup.
Account Setup
You can sign in with:
- A Microsoft account (recommended for syncing settings and license).
- Or create a local user account for offline use.
Privacy Settings
Customize privacy options such as location tracking, diagnostics, and advertising preferences.
Take your time reviewing these settings—they impact how much data Windows collects.
Step 6: Install Drivers and Updates
After reaching the desktop for the first time, Windows will automatically begin searching for drivers. However, it’s best to manually install critical drivers for optimal performance:
1. Chipset Drivers
Go to your motherboard manufacturer’s website and download the latest chipset drivers.
2. Graphics Card Drivers
- NVIDIA: NVIDIA Driver Download
- AMD: AMD Driver Download
- Intel: Intel Graphics Drivers
3. Network and Audio Drivers
Even if Windows provides basic functionality, official drivers offer better stability and features.
4. BIOS Utilities and Monitoring Software
Optionally, install manufacturer software like ASUS Armoury Crate, MSI Dragon Center, or Gigabyte App Center for system monitoring, fan control, and BIOS updates.
Step 7: Activate Windows
If you didn’t enter a product key during installation, you can activate Windows later:
- Go to Settings > System > Activation
- Enter your product key or sign in with your Microsoft account linked to a digital license.
Activation unlocks personalization features and confirms you have a legitimate OS.
Step 8: Install Your Preferred Apps
With drivers and updates complete, install essential software like:
- Web browsers (Chrome, Firefox, Edge)
- Office suites (Microsoft 365, LibreOffice)
- Security software (Windows Defender is pre-installed and works well)
- Gaming platforms (Steam, Epic Games, Origin)
- Productivity tools (Notion, Slack, Adobe Creative Cloud)
Organize your desktop, configure taskbar shortcuts, and fine-tune settings to match your workflow.
Optional: Create a System Backup or Restore Point
Before you go all-in installing games and software, consider creating a restore point or full system backup. This protects your fresh install and saves time in case something goes wrong later.
- Use Windows Backup, Macrium Reflect, or Acronis True Image for full backups.
- For lighter protection, enable System Restore Points in Windows settings.
Troubleshooting Common Issues
Can’t Boot from USB?
- Double-check BIOS boot order.
- Recreate the USB with the Media Creation Tool.
- Use a different USB port (preferably USB 2.0).
Windows Doesn’t Detect SSD/HDD?
- Ensure drive is connected properly via SATA or M.2.
- Check BIOS to see if the drive is recognized.
- Load storage controller drivers during installation if needed.
Activation Problems?
- Use the Activation Troubleshooter in Settings.
- Verify you’re signed in with the correct Microsoft account.
Final Thoughts: A Smooth Start to Your New PC
Installing Windows after building a PC might seem intimidating at first, but it’s a straightforward process with the right preparation. By following this step-by-step guide, you ensure a smooth and secure setup, allowing you to enjoy your new custom-built system to its full potential.
Here’s a quick summary:
✅ Create a bootable USB with the Media Creation Tool
✅ Configure BIOS to boot from USB
✅ Perform a clean installation
✅ Install drivers manually for best performance
✅ Activate Windows and customize your setup
✅ Backup your fresh install for future safety
With Windows installed and running, you’re officially ready to game, create, or work on your new machine!