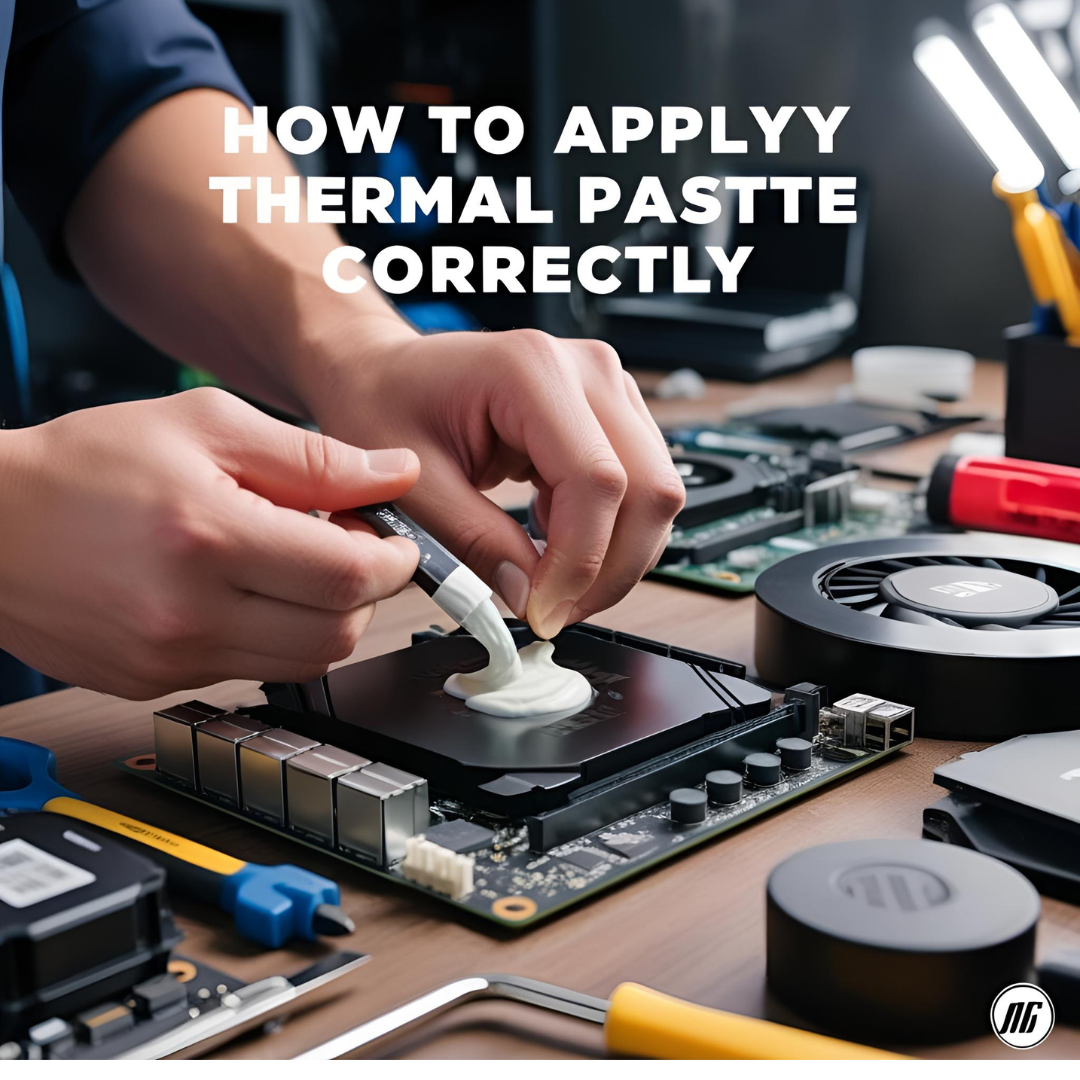
Applying thermal paste correctly is one of the most essential steps in building or maintaining a high-performance PC. This small but crucial compound plays a significant role in ensuring efficient heat transfer between your CPU and its cooler. Yet, it’s often misunderstood, misapplied, or completely overlooked.
In this guide, you’ll learn why thermal paste matters, how to apply it properly, and the best methods depending on your cooling solution.
What Is Thermal Paste and Why Is It Important?
Thermal paste, also known as thermal compound or thermal grease, is a heat-conductive substance that fills microscopic imperfections between your CPU’s Integrated Heat Spreader (IHS) and the base plate of your cooler. Even surfaces that appear smooth have tiny gaps that hinder thermal transfer.
The paste ensures maximum surface contact and efficient heat transfer from the processor to the cooler, preventing thermal throttling, overheating, and ensuring consistent performance.
What Happens If You Apply It Incorrectly?
- Too little paste = Gaps and poor heat transfer, causing high CPU temperatures.
- Too much paste = Spillover that can reach the motherboard, and poor heat conductivity.
- Uneven application = Hot spots that degrade cooling efficiency.
Incorrect application can reduce your CPU’s lifespan and hinder overall system stability.
Tools and Materials You’ll Need
Before starting, gather these items:
- Your CPU and cooler (either box or custom)
- A good-quality thermal paste (e.g., Arctic MX-6, Noctua NT-H1, Thermal Grizzly Kryonaut)
- Isopropyl alcohol (at least 90%) and lint-free cloth or coffee filter (for cleaning)
- A plastic spreader (optional, depending on method)
- Nitrile gloves (optional for cleanliness)
Step-by-Step: How to Apply Thermal Paste Correctly
Step 1: Prepare the Surface
Whether you’re building a new PC or reapplying paste:
- Clean the CPU and cooler contact surface using isopropyl alcohol and a lint-free cloth.
- Remove all old paste completely until the surfaces are shiny and residue-free.
- Let it dry for a few seconds before proceeding.
This ensures no contaminants interfere with thermal transfer.
Step 2: Choose Your Application Method
There are several techniques for applying thermal paste, but these are the most reliable:
1. Pea-Sized Dot (Most Recommended)
- Place a small dot (around 4-5mm in diameter) of thermal paste in the center of the CPU.
- When you install the cooler, it will spread the paste evenly under pressure.
- Suitable for most CPUs (Intel and AMD) and works well for both box and custom coolers.
2. Line Method
- Place a thin line of paste across the CPU, aligned with the cores.
- Ideal for rectangular CPUs like some Intel models.
- Beware of overuse—too much can spill out.
3. X Method
- Apply a thin “X” across the surface.
- Offers good coverage but increases the risk of using excess paste.
- Useful for larger CPUs or when using metal-based pastes that spread less.
4. Spread Method (Less Common)
- Use a plastic spreader or gloved finger to manually spread a thin, even layer across the CPU.
- This method can trap air bubbles and is usually not necessary with modern coolers.
- Only recommended for users with experience.
Step 3: Install the Cooler
- Lower the cooler straight down onto the CPU without tilting.
- Apply even pressure and tighten the mounting screws in a diagonal or cross pattern.
- Do not lift the cooler again after contact, or you’ll need to clean and reapply the paste.
Make sure it’s firmly attached and that the thermal paste has spread evenly.
Step 4: Test and Monitor Temperatures
After installing everything:
- Boot the system and enter BIOS or use software like HWMonitor or CoreTemp.
- Check idle and load temperatures.
- A good application will keep idle temps low (30–40°C) and full load temps within safe limits (under 85°C depending on your CPU).
If temperatures are unusually high, it may be worth checking your application or reapplying the paste.
How Often Should You Reapply Thermal Paste?
Most high-quality thermal pastes last 2–5 years depending on usage, cooler pressure, and environmental conditions. Consider reapplying when:
- You remove or replace the CPU cooler
- Your CPU temperatures start to rise inexplicably
- You’re upgrading your system or performing maintenance
Common Mistakes to Avoid
- Using too much paste: Leads to spillage and can insulate rather than conduct heat.
- Spreading paste with fingers (without gloves): Introduces oils and dirt that reduce effectiveness.
- Not cleaning old paste properly: Reduces contact quality.
- Applying paste to both CPU and cooler: One side is enough; doing both can create a mess.
- Reusing old thermal paste: Always clean and reapply with fresh compound.
Recommended Thermal Paste Brands
When quality matters, don’t skimp on thermal paste. Some of the best on the market include:
- Thermal Grizzly Kryonaut – Premium performance, especially for overclocking.
- Noctua NT-H1 / NT-H2 – Great balance of performance and ease of application.
- Arctic MX-4 / MX-6 – Reliable, affordable, and non-conductive.
- Cooler Master MasterGel Maker – Effective for high-performance systems.
Avoid low-cost generic pastes, especially conductive ones without clear labeling.
Liquid Metal vs. Traditional Paste
Liquid metal compounds (like Thermal Grizzly Conductonaut) offer superior thermal conductivity, but:
- Are electrically conductive—can short your components
- Not compatible with aluminum heatsinks (they cause corrosion)
- Require precision and experience
Unless you’re an enthusiast or overclocker, standard thermal paste is more than enough for most systems.
Final Thoughts: Take Thermal Paste Seriously
While it may seem like a minor detail, properly applying thermal paste is critical for maintaining CPU health, performance, and system longevity. Whether you’re building a gaming PC, editing video, or just browsing the web, good thermal management starts with correct application.
Take your time, follow the steps above, and you’ll have one less thing to worry about in your PC build.

