Building your own computer may seem intimidating at first, but it’s a surprisingly straightforward process when broken down into simple steps. Not only is it a rewarding project, but assembling a PC at home also allows you to fully customize your build, save money, and learn a valuable skill that will help you for years to come.
In this comprehensive guide, you’ll learn how to build a PC at home — step by step — from prepping your workspace to powering it on for the first time.
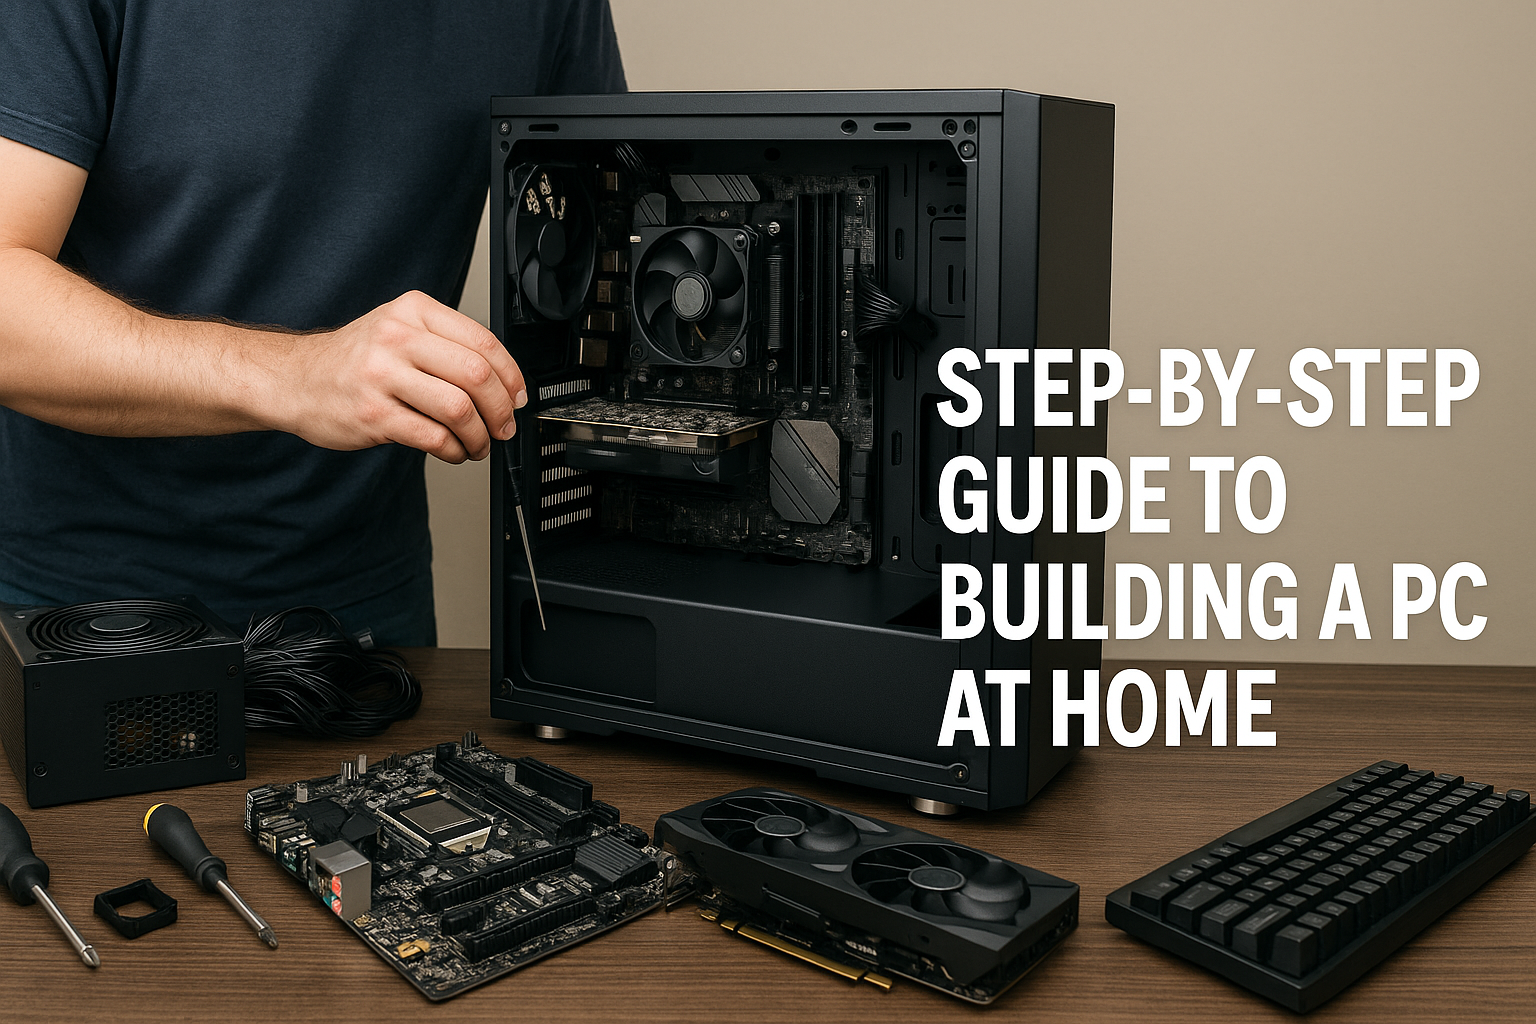
What You’ll Need Before You Begin
Before starting the build, gather all your components and tools. Here’s a checklist:
Essential PC Components:
- CPU (Processor)
- CPU Cooler (stock or aftermarket)
- Motherboard
- RAM (Memory)
- GPU (Graphics Card) – optional for some builds
- SSD/HDD (Storage)
- PSU (Power Supply Unit)
- PC Case
- Operating System (e.g., Windows, Linux)
Tools:
- Phillips-head screwdriver (preferably magnetic)
- Anti-static wrist strap (optional but recommended)
- Thermal paste (only if not pre-applied on cooler)
- Small flashlight or headlamp (for visibility)
Now let’s begin the building process.
Step 1: Prepare Your Workspace
Choose a clean, flat surface with good lighting. Avoid carpeted floors if possible, to minimize static electricity. Place all your components nearby and keep their manuals within reach.
Tips:
- Wear an anti-static wrist strap or touch a grounded metal object frequently.
- Lay the motherboard on its antistatic bag, not the box foam.
Step 2: Install the CPU
Locate the CPU socket on your motherboard. Carefully lift the socket lever (Intel) or the retention arm (AMD).
How to Install:
- Align the triangle on the CPU corner with the triangle on the motherboard socket.
- Gently place the CPU in the socket — do not force it.
- Secure the lever/arm.
Mistakes to Avoid:
- Touching the pins or the top of the CPU
- Installing with excessive pressure
Step 3: Apply Thermal Paste (if needed)
If your cooler doesn’t have pre-applied paste, place a pea-sized amount of thermal paste in the center of the CPU.
Tip:
Too much thermal paste can cause overheating or leakage. Less is more.
Step 4: Install the CPU Cooler
Attach the CPU cooler according to the instructions for your model. Stock coolers are typically the easiest — just align and push or screw them into place.
For Aftermarket Coolers:
- Make sure you use the correct mounting bracket
- Plug in the cooler’s fan connector to the CPU_FAN header on the motherboard
Step 5: Install RAM
Refer to your motherboard manual to find the recommended RAM slots (usually A2 and B2 for dual-channel).
How to Install:
- Open the plastic clips on the RAM slots.
- Align the RAM stick with the notch.
- Press down firmly until both clips snap shut.
Tip:
If the RAM doesn’t click in, don’t force it. Check the orientation.
Step 6: Mount the Motherboard in the Case
First, install the I/O shield (the metal backplate) into the rear of the case.
Then:
- Place the case standoffs in the appropriate holes (if not pre-installed).
- Carefully lower the motherboard into the case, aligning it with the I/O shield and standoffs.
- Screw the motherboard in securely, but don’t overtighten.
Step 7: Install Storage (SSD or HDD)
Depending on your storage type:
M.2 NVMe SSD:
- Insert it diagonally into the M.2 slot.
- Press down and secure it with a tiny screw.
2.5” SSD or 3.5” HDD:
- Mount into a drive bay or tray.
- Connect a SATA power cable from the PSU and a SATA data cable to the motherboard.
Step 8: Install the Power Supply (PSU)
Slide the PSU into its spot (usually bottom-rear of the case) with the fan facing downward or toward ventilation holes.
Connect the following cables:
- 24-pin ATX to the motherboard
- 8-pin CPU (EPS) to the top of the motherboard
- PCIe cables to the GPU (if needed)
- SATA power to storage devices
Secure the PSU to the case using the provided screws.
Step 9: Install the Graphics Card (GPU)
If your CPU doesn’t have integrated graphics or you plan to game/render, install your GPU:
How to Install:
- Remove the expansion slot covers on the case.
- Align the GPU with the PCIe x16 slot and push it in firmly.
- Secure it to the case with screws.
- Plug in PCIe power connectors from the PSU.
Step 10: Connect Case Front Panel Connectors
These include:
- Power switch
- Reset switch
- Power LED
- HDD LED
- USB 3.0 and 2.0
- Audio connector (HD_AUDIO)
Refer to your motherboard manual — the pin layout for these tiny connectors varies.
Step 11: Install Case Fans (if needed)
Most cases come with one or two pre-installed fans. If you add more:
- Ensure front fans intake air, and rear/top fans exhaust air
- Connect them to FAN headers on the motherboard or to the PSU via Molex/SATA
Good airflow = better cooling and performance.
Step 12: Cable Management
Use zip ties or Velcro straps to tidy up cables behind the motherboard tray. This helps airflow and makes your build look professional.
Tips:
- Route cables through the case’s rubber grommets or cutouts.
- Avoid blocking fans or vents.
Step 13: Final Check Before Power On
Before pressing the power button, double-check:
- All power connectors are plugged in
- GPU and RAM are fully seated
- CPU cooler is properly installed and plugged in
- Front panel connectors are correct
- No screws or tools are left inside the case
Step 14: Boot Up and Enter BIOS
Turn on the PSU switch and press the power button on the case. You should see fans spin, lights turn on, and a display on your monitor.
Enter BIOS:
- Press DEL or F2 repeatedly during startup
- Set boot priority to your USB installer or SSD
- Check that all components are recognized
Step 15: Install the Operating System
Use a USB drive with Windows 10/11 or a Linux distribution.
- Plug in the USB and reboot the PC.
- Follow the on-screen instructions to install.
- Once installed, download all motherboard drivers and GPU drivers from their official websites.
Final Words: Enjoy Your Custom-Built PC
You’ve just built your own computer — congratulations! 🎉
By following this step-by-step guide, you’ve not only saved money but gained a solid understanding of how PCs work.
Take your time with each step, double-check connections, and don’t rush. The more you build, the easier it becomes — and the more control you’ll have over your hardware in the future.
Now go ahead and enjoy your new machine, whether you’re gaming, working, or learning something new!